The Ultimate Guide to Dry Casings: Tips and Tricks You Need to Know
May 01,2025
Introduction to Dry Casings
Hey there! If you’re diving into the world of dry casings, you’re in for quite a ride. Whether you're a seasoned pro or a curious newbie, understanding the ins and outs of dry casings can make or break your culinary adventures. So, let’s get cracking!
What Are Dry Casings?
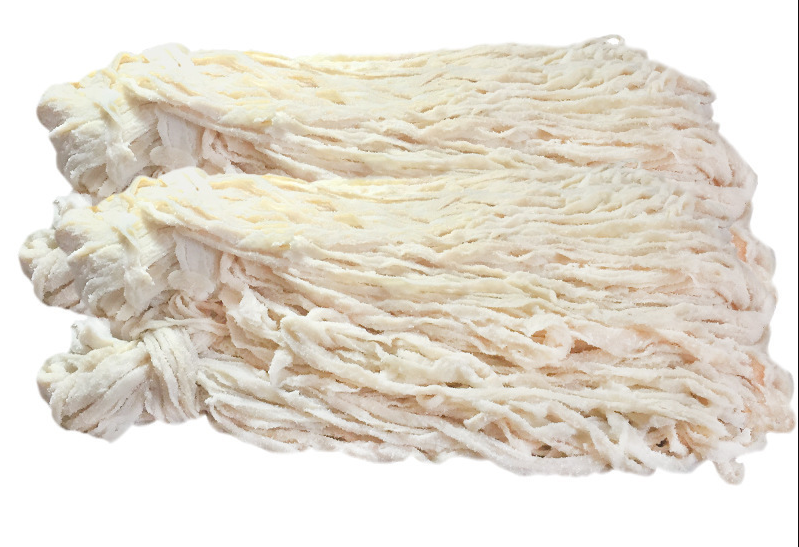
To put it simply, dry casings are the protective layers used to encase sausages and other cured meats. Typically made from natural or synthetic materials, these casings play a pivotal role in the curing process. They not only keep all the tasty goodness inside but also contribute to the texture and flavor of the finished product. Pretty neat, right?
Why It Matters
Now, you might be wondering why the fuss over dry casings? Well, it’s all about quality and safety. The right casing can enhance flavor and texture, while the wrong one can lead to a soggy disappointment. Nobody wants that! Plus, learning how to handle them properly ensures you get the most bang for your buck.
Choosing the Right Type
When it comes to dry casings, variety is the spice of life! There are natural casings (like hog or sheep) and synthetic ones (think collagen or cellulose). Each has its unique properties, so choose wisely based on the type of sausage you’re making. Natural casings are usually more flavorful and flexible, while synthetic options might be a tad easier to work with. Just keep your end goal in mind!
Preparation is Key
Before you dive in, proper preparation of your dry casings is crucial. Here’s what you need to keep in mind:
- Soak Them: Most natural casings need a good soak before use. This rehydrates them, making them easier to work with and more pliable.
- Check for Holes: Inspect your casings for any holes or tears. Nobody wants a leaky sausage!
- Keep Them Clean: Hygiene is paramount. Make sure to rinse your casings thoroughly to remove any residual salt.
Filling Techniques
Ah, the filling process—this is where the magic happens! But hold your horses. It’s not just about stuffing; it’s about technique:
- Use a Funnel: A funnel will save you a world of mess. Load your mixture into the casing smoothly and evenly.
- Don’t Overstuff: While it’s tempting to pack them tight, overstuffing can lead to burst casings. Aim for a snug fit!
- Twist and Tie: After filling, twist the casing at regular intervals, and tie off the ends securely. You want each sausage to hold its shape.
Curing and Smoking
Once your sausages are filled and tied, it’s time for the curing process. This is where the dry casings really shine, as they allow for moisture to escape while keeping flavors locked in. Keep an eye on temperature and humidity levels to ensure optimal results.
Storage Tips
If you’re not using your dry casings right away, store them properly:
- Keep Them Cool: A cool, dry place is ideal for storage. Avoid direct sunlight like the plague!
- Seal and Label: If you’re storing opened packages, seal them tightly and label them with the date. No one wants to play the guessing game!
Common Mistakes to Avoid
Let’s face it, we all make mistakes. But when it comes to dry casings, a few slip-ups can lead to disaster:
- Neglecting Soaking: Skipping the soaking step can lead to tough casings. Don’t do it!
- Ignoring Quality: Cheaper casings might save a few bucks, but they could compromise your final product. Invest wisely!
- Not Practicing: If you’re new to this, practice makes perfect. Don’t be afraid to experiment!
Conclusion
And there you have it! Armed with this knowledge, you’re ready to tackle dry casings head-on. Remember, it’s all about preparation, technique, and a little bit of love. So roll up your sleeves and let the sausage-making fun begin!
Keyword:
Latest News


